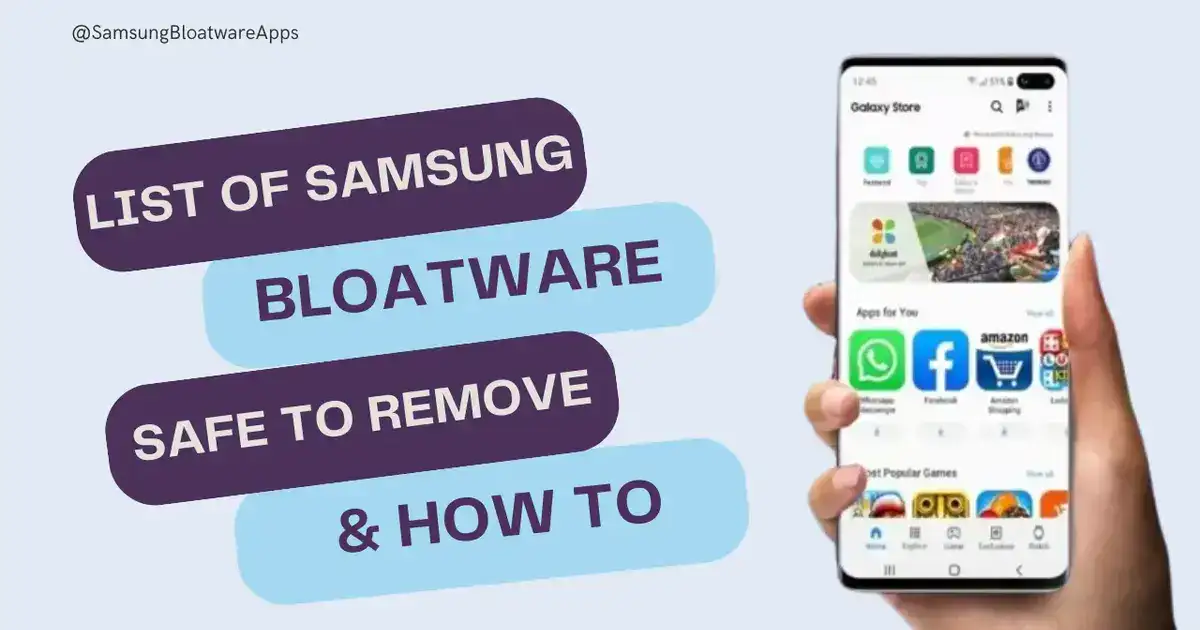
How to Remove Samsung Bloatware: In the dynamic realm of smartphones, optimizing your device for peak performance is key. Samsung, a leading player in the market, equips its phones with various pre-installed applications, commonly known as bloatware. If you’re seeking to declutter your device and enhance its efficiency, this guide will walk you through the safe removal of Samsung bloatware.
Streamlining Your Samsung Experience: Safely Removing Bloatware
Unboxing the List: Samsung Bloatware Safe to Remove
- Samsung Galaxy Store: While the Galaxy Store is a hub for apps, removing it won’t affect your device’s core functionality. Streamline your app sources for a cleaner interface.
- Samsung Health: If you’re not a fitness enthusiast, bid farewell to Samsung Health. Free up space by parting ways with this health-focused app.
- Samsung Members: While useful for troubleshooting, Samsung Members can be safely removed if you seek a minimalist approach to your device.
- Microsoft Apps: Samsung often comes with pre-loaded Microsoft apps. If you’re not a power user of these apps, consider reclaiming storage by uninstalling them.
- Bixby: For those uninterested in voice assistants, removing Bixby can declutter your device. Enjoy a simplified smartphone experience without sacrificing functionality.
The How-To: Effortlessly Removing Samsung Bloatware
- Settings Menu: Navigate to your device’s settings, locate “Apps,” and select the app you wish to uninstall. Tap “Uninstall” and confirm your decision.
- Galaxy Store Removal: If you’ve decided to bid adieu to the Galaxy Store, head to settings, then apps, find Galaxy Store, and uninstall it like any other app.
- Bixby Begone: To remove Bixby, press and hold on an empty space on your home screen, swipe right to find Bixby, tap the three dots, and select “Uninstall.”
Elevating Your Samsung Experience
By removing unnecessary bloatware, you not only free up storage space but also optimize your device’s performance. Embrace a clutter-free smartphone experience tailored to your preferences.

Streamlining Your Device: Uninstalling Samsung Members
If you find yourself wanting to declutter your Samsung device and remove the Samsung Members app, follow these simple steps:
- Navigate to Settings: Open the Settings menu on your device. You can usually find this icon on your home screen or in the app drawer.
- Select Apps: Scroll down and look for the “Apps” or “Applications” option in the Settings menu. Tap on it to proceed.
- Locate Samsung Members: In the list of installed apps, find and select “Samsung Members.” This will open the app details.
- Uninstall the App: Once you’re in the Samsung Members app details, look for the “Uninstall” button. Tap on it, and your device will prompt you to confirm the uninstallation.
- Confirm Uninstallation: A confirmation message will appear. Confirm your decision to uninstall Samsung Members by tapping “OK” or “Confirm.”
And that’s it! You’ve successfully uninstalled the Samsung Members app from your device. Enjoy a cleaner and more streamlined smartphone experience.
Remember, while the Samsung Members app can be useful for troubleshooting and support, removing it is entirely safe if you prefer a minimalist approach to your device.
Clearing Space: Uninstalling Samsung Notes
Follow these steps to remove the Samsung Notes app from your Samsung device:
- Access Settings: Open the Settings on your device. You can find the Settings icon on your home screen or in the app drawer.
- Navigate to Apps: Scroll down and look for the “Apps” or “Applications” option in the Settings menu. Tap on it to proceed.
- Find Samsung Notes: In the list of installed apps, locate and select “Samsung Notes.” This will open the app details.
- Uninstall the App: Once you’re in the Samsung Notes app details, look for the “Uninstall” button. Tap on it, and your device will ask you to confirm the uninstallation.
- Confirm Uninstallation: A confirmation message will appear. Confirm your decision to uninstall Samsung Notes by tapping “OK” or “Confirm.”
- Notes Removal: Some Samsung devices may have the Samsung Notes app integrated into the system and cannot be uninstalled. If this is the case, you can disable the app to prevent it from running.
- To disable, go to Settings > Apps > Samsung Notes.
- Tap on “Disable” to stop the app from running, and it will no longer be visible on your home screen or in the app drawer.
And there you have it! You’ve successfully uninstalled or disabled the Samsung Notes app from your device, freeing up valuable space. Keep in mind that while Samsung Notes is a handy application for note-taking, removing it is safe if you prefer alternative note-taking apps or want to streamline your device.


